Follow along to make your own
This is a repost of one of my first step-by-step instructional blogs, I think I first wrote this blog in 2003 or 2004. I loved creating it. Even though the pictures are not professional, the process and the recipe are still relevant and this is how I make ghee to this day. Enjoy this simple process.
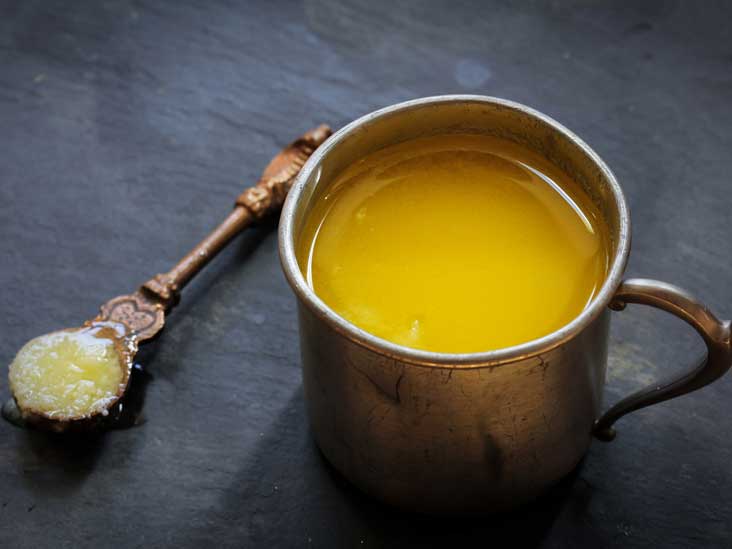
Ghee is considered one of the “super-foods” of Ayurvedic nutrition. Overflowing with abundant health benefits, ghee, also known as clarified butter, is clean, sweet and light to the taste. It is one of the most beneficial forms of fat for the body and when taken with medicinal herbs, ghee helps transport an herb’s nutritional properties to all seven tissue layers of the body.
Click on the images below to follow along:
-

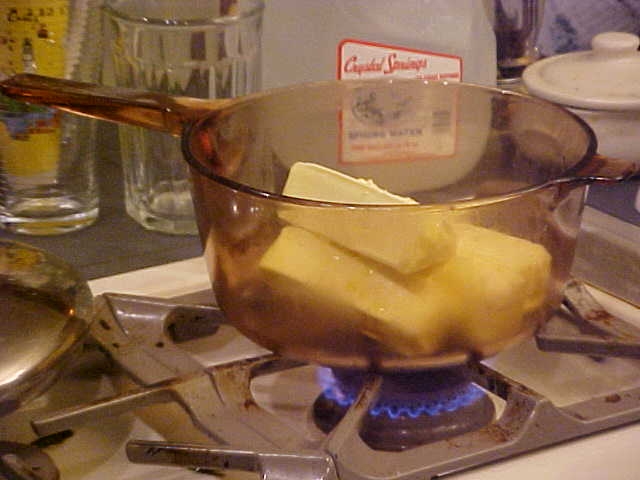
- 1. Place 1 pound (4 sticks) unsalted, organic butter over medium heat
-
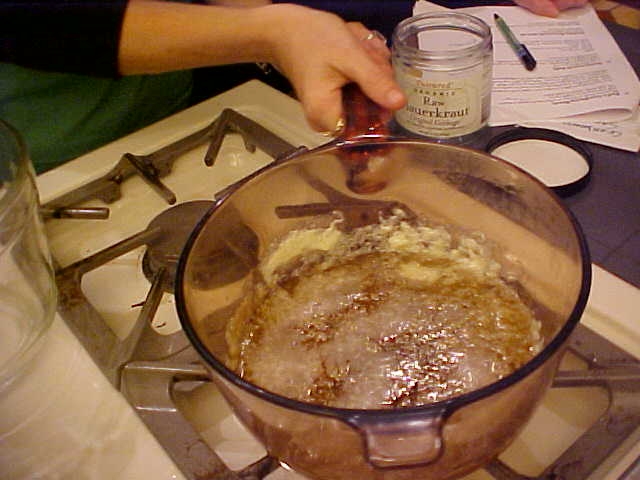
- 2. As the butter melts, it will move through a variety of stages and sounds. It does not need to be stirred.

-
- 3. A glass pan makes it easy to see the changes your ghee will go through. Corning Ware and stainless steel pots work, too.
-
- 4. As the water evaporates and protein solids from the butter separate and sink to the bottom of the pan, a layer of foam may form at the top.
-
- 5. When the ghee is done, it will smell like buttered popcorn.
-
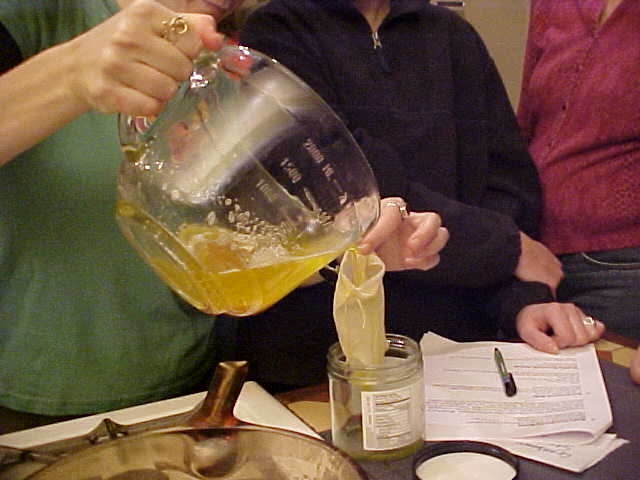
- 6. Looking into the pan, you can see the ghee has turned into clear golden liquid.
-
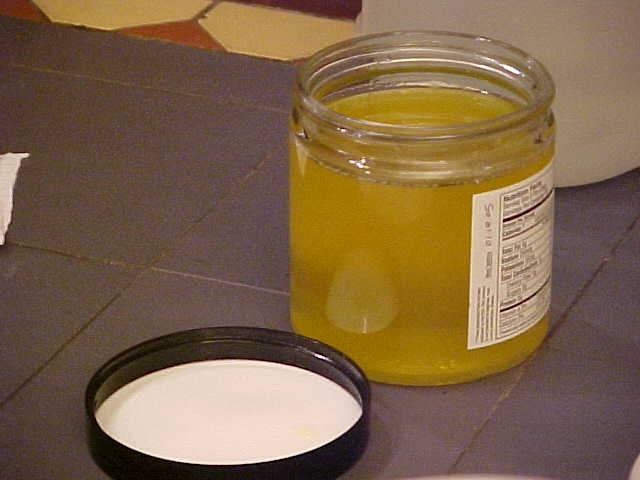
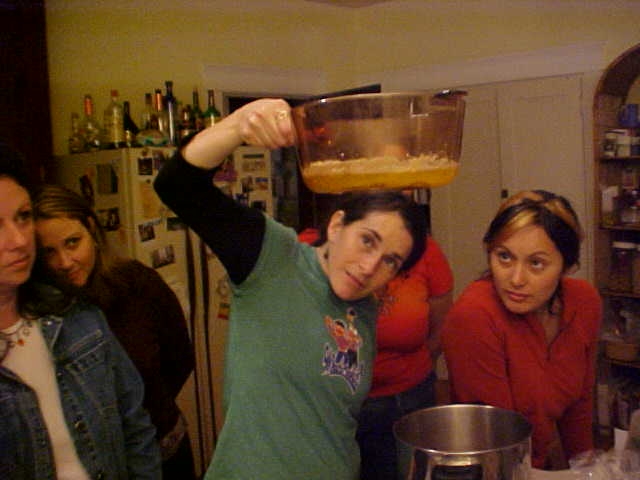
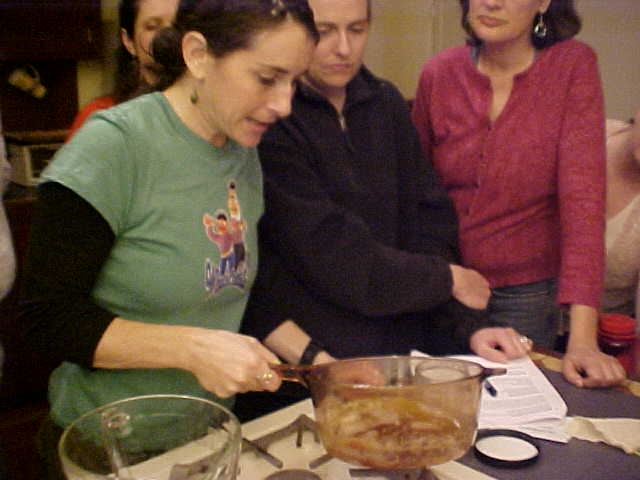
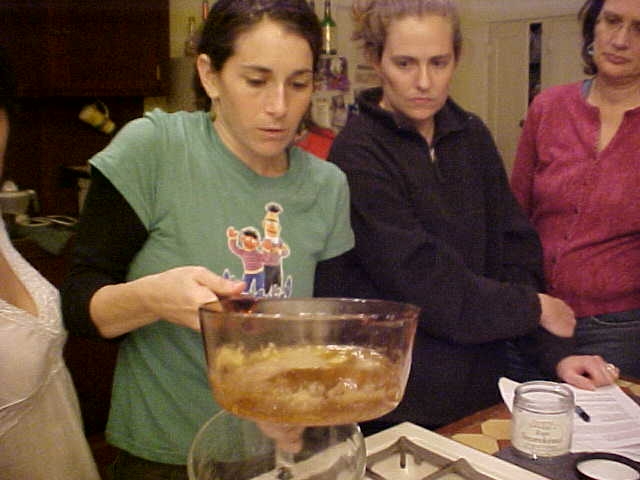
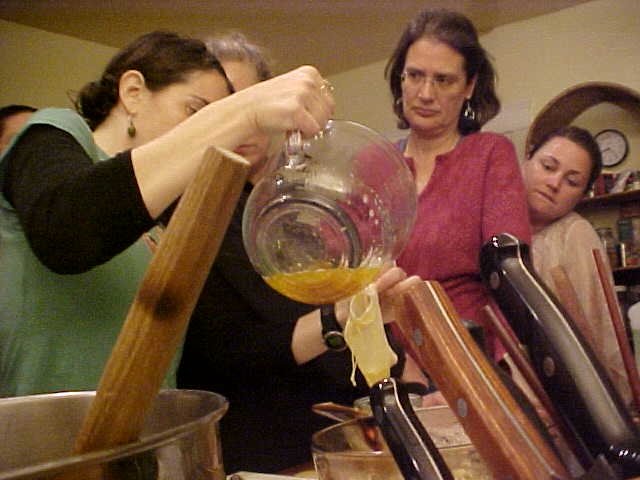
- 7. Let the ghee cool for 10-15 minutes before transferring into a container with a pouring spout.
-
- 8. Strain ghee through a clean muslin tea bag.
-
- 9. Voila! Your ghee is done and ready to eat!